When you create web applications, you’ll eventually want to create individual permissions for site access. Creating an admin interface for employees or clients to manipulate content can be a cumbersome task. Once again Django comes to the rescue with a simple admin feature that’s automatically created in projects. We now continue our journey through the Django platform by activating the admin site, adding user permissions, and exploring another view of the database.
Last updated: Feb 12, 2023
In this tutorial, you’ll learn how to:
- Enable the admin site.
- Create a super user.
- Add app models and access data.
- Set user permissions.
Prerequisites
- Software
- Coding skills
- Understanding of HTML and CSS
- Basic understanding of Django
- Basic understanding of relational databases
- Intermediate-level knowledge of Python, including:
Get the starter project
In this tutorial, we’ll work on a website for dog shelters. This project focuses on collecting information on all existing dog shelters and the dogs they hope to place across the United States. The fictional hope for this app is that dogs would find suitable homes faster because they would have individuals looking to adopt them from around the United States and not just their local area.
Django is the perfect framework for this project. It provides a route for quickly developing a customer-facing app. Django also provides an established database and admin function that can easily be accessed by employees for quick updating. We’ve created the initial setup for this project, which allows us to focus on the concepts for this tutorial.
Requirements
You’ll need the following resources installed on your computer to complete the exercises:
- Python
- Git
- A code editor such as Visual Studio Code
Clone the starter repository
- Open a command window or terminal.
- Run the following commands to clone the starter repository and change to the project’s directory.
git clone https://github.com/MicrosoftDocs/mslearn-django-admin-site
cd mslearn-django-admin-site/starter
Note: The solution for the exercises can be found in the solution directory.
Open the project in Visual Studio Code
We’ll use Visual Studio Code as our code editor.
In the same command or terminal window, enter the following command to open the folder in Visual Studio Code.
code .
Create the virtual environment
We’ll follow the best practice of working with virtual environments for our project.
- Inside Visual Studio Code, open the terminal window by selecting View > terminal.
- In the new terminal window, run the following commands to create and activate a virtual environment.
# Windows
py -3 -m venv venv
.\\venv\\Scripts\\activate

# macOS or Linux
python3 -m venv venv
source ./venv/bin/activate
Install Django
The starter project uses a requirements.txt file to contain the list of all necessary packages. We can install them by using pip.
In the same terminal window, run the following command to install the required packages.
pip install -r requirements.txt
Create the database
For development purposes, Django uses an instance of SQLite. You can use Django to create the database through its database migration tools.
In the same terminal window, run the following command to create the database.
python manage.py migrate
Start the server
Django can host the application locally. We’ll do this step by using the built-in terminal window in Visual Studio Code or for live web app you need django hosting.
Enter the following command in the same terminal window.
python manage.py runserver
Permissions for the Django admin site
Django includes a built-in admin site that can be used to manage the data in your application and security. This site is part of the default installation. As we’ll see, it requires only a few lines of code to fully activate it. Django also includes a full authentication and authorization implementation, which you can use to control access to the admin site.
Security and Django
Django is designed to streamline the creation of data-driven web applications by providing the normal functionality that’s required by these types of sites. Django provides an authentication and authorization mechanism, and you’re free to expand and modify the included system. You can incorporate third-party authenticators, multifactor authentication, or any other requirements your organization might have. We’ll explore the default implementation in this tutorial.
Explore user types
Django has three main types of users by default: users, staff, and superusers. You can create your own types by making groups or setting unique permissions.
Access levels
| Access | User | Staff | Superuser |
|---|---|---|---|
| Admin site | No | Yes | Yes |
| Manage data | No | No | Yes |
| Manage users | No | No | Yes |
By default, staff have access to the admin site but not to modify any data. You can set individual permissions or create groups as needed to provide the appropriate levels of access.
Create users
To create users in Django, you must first create a superuser. Use the command createsuperuser from manage.py to create a superuser. After you create a superuser, you can access the admin site to create any other users.
The admin site
Creating a data-driven application means, by definition, working with data. Allowing internal business users access to modify the data as they see fit often requires quite a bit of code between security and the interface. Django provides an admin site that handles this process for you.
Through the admin site, you can determine which users have access to what data. Users can then use the admin site to add, update, and delete items. They don’t need to access the database directly or bypass any of the validation rules you’ve implemented. The security model and interface are already created for you as part of the framework. All you need to do is activate your models so they appear in the site, which requires only a couple of lines of code.
When you create projects, the admin interface is automatically created, but it doesn’t configure any user access. To sign in to the Django admin site, we now need to create our first user, which is a superuser.
Create a superuser
- Open a new terminal window in Visual Studio Code by selecting Terminal > New terminal.
- Ensure the virtual environment is activated by running the following code:
# Windows .\\venv\\Source\\Activate # Linux or macOS source ./venv/bin/activate - Create a superuser by running the following command:
python manage.py createsuperuser - Complete the process by answering the questions provided by the wizard. Enter the username you want to use, an email address, and a password.
Note: The password must be complex according to Django’s standards, which means at least eight characters and a combination of upper- and lowercase letters, special characters, and numbers. If you don’t meet the complexity rules, Django will ask if you want to override the requirements, which isn’t recommended.
Sign in to the admin site
After the admin user has been created, it’s time for our first sign-in to the Django admin interface. During the project setup earlier in this tutorial, we started the server, so our admin site is already active.
- Go to http://localhost:8000/admin.
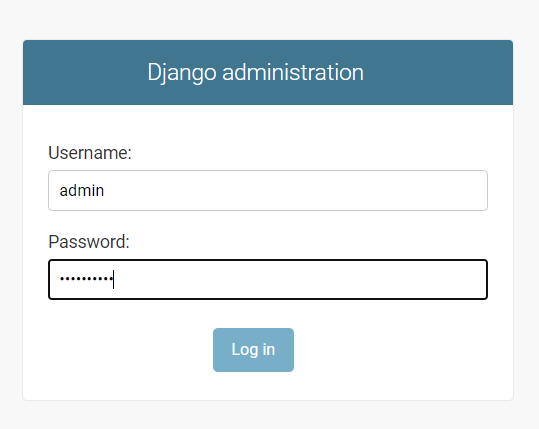
- Enter the username and password you created earlier.After you’ve successfully signed in to the admin site, you should see a screen that looks like the following one.
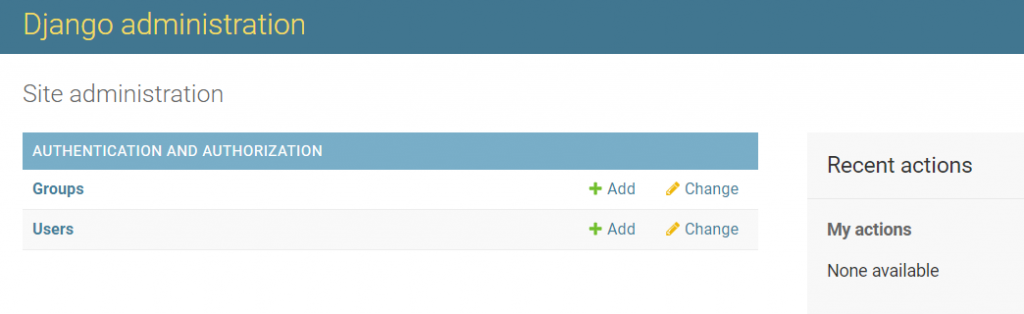
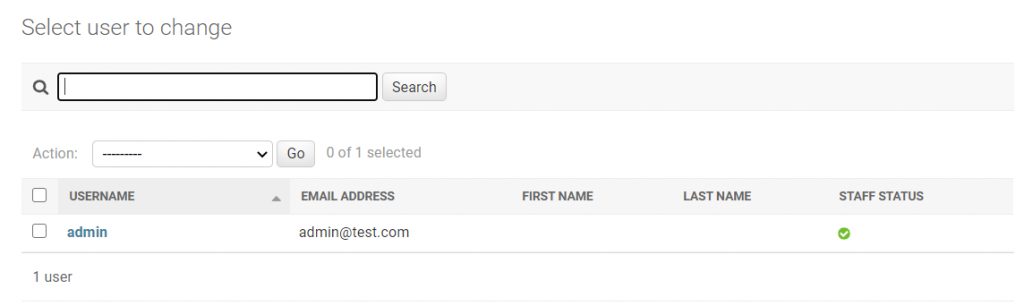
- Select Users.You’ll now see the list of users, which includes the user you created.
Create a staff user
- Select ADD USER in the upper-right corner.
- Enter a Username for the staffuser.
- Enter a Password that meets the complexity requirements, and confirm the password.
- Select SAVE.
- On the next screen, select Staff status to make the new user a staff user.
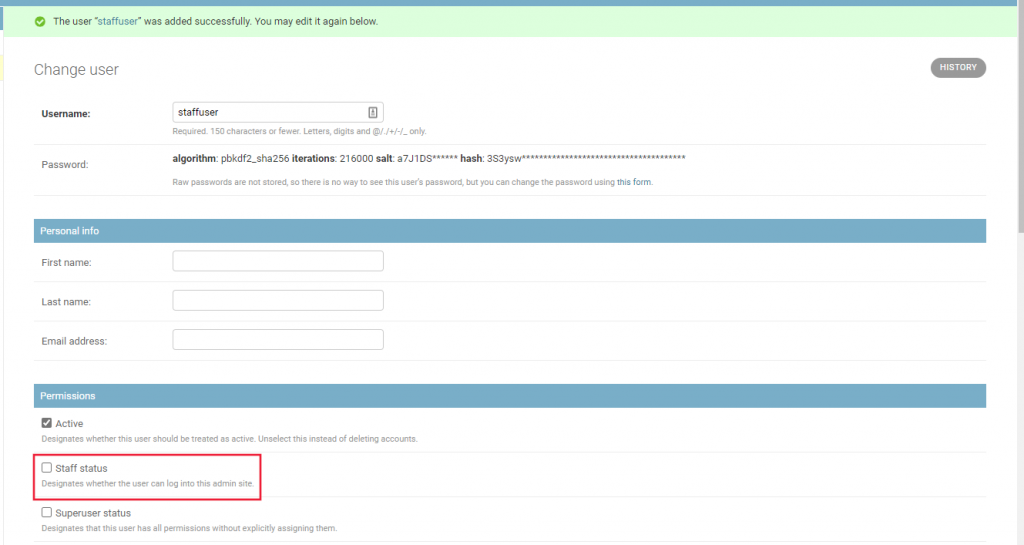
- Select SAVE.
- If you select the dog, you’ll be taken to the details page where you can update any values or delete the entry.
Note: The display shows the name of the dog or the shelter if you go to the Shelters portion of the admin site. This information appears because we set the __str__ method on our objects. The default display of any object is the value returned by __str__.
As highlighted earlier, you can add users with permissions to modify data through the admin site. Let’s update the staffuser user we created in a prior unit to have permissions to modify dogs.
Set the user permissions
- Return to the admin site in your browser.
- Select Users.
- Select staffuser to update our staffuser.
- Ensure Staff status is selected.
- Scroll down to User permissions.
- Select the following permissions:
- dog_shelters | dog | Can add dog
- dog_shelters | dog | Can change dog
- dog_shelters | dog | Can view dog
Note: The page highlights that you can select multiple permissions by using Control or Command and selecting each item.
7. Select Choose.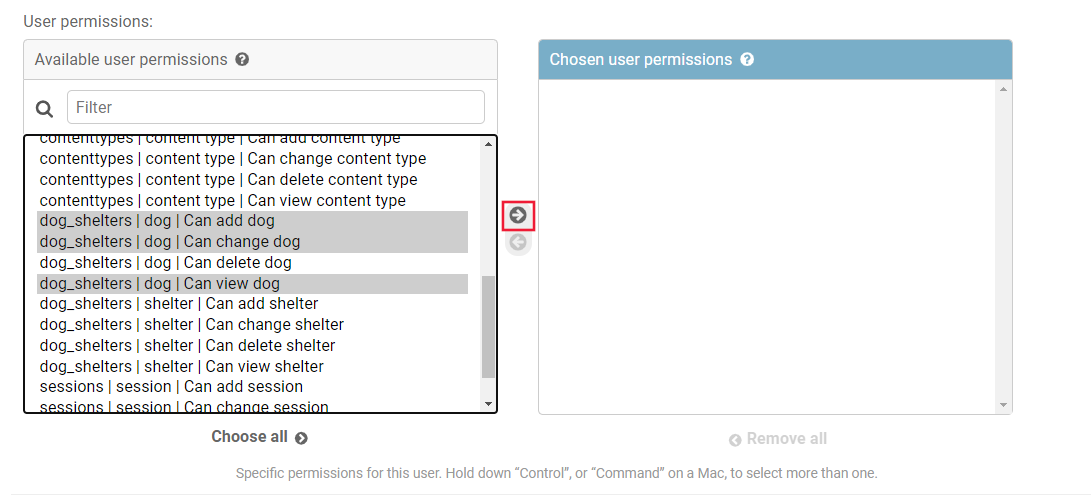
8. Select SAVE.
Sign in as the staff user
Let’s see the difference between a superuser and a staff user by signing in as a staff user.
- Select LOG OUT in the upper-right corner.
- Select Login again.
- Sign in as staffuser by using the password you created earlier.
Note: If you forgot the password, you can sign in as your superuser and reset the password.
r
Notice that the admin page only allows access to Dogs.
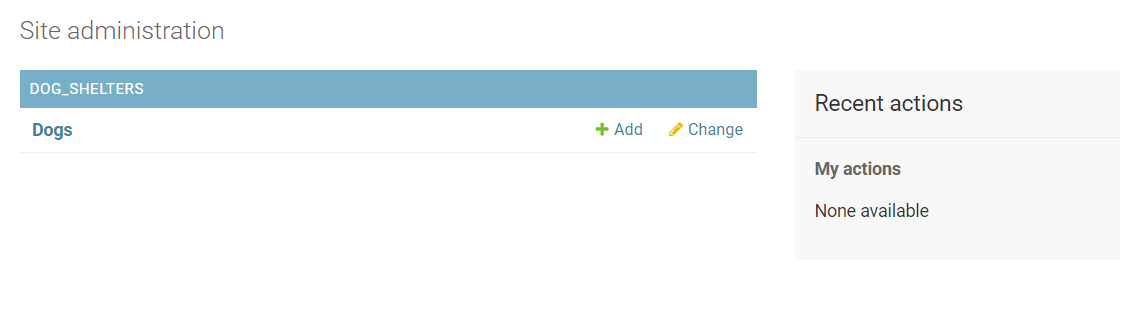
4. Select Dogs.
5. Select the dog you created earlier.
Notice that you can modify the dog, but not delete it.
We’ve now configured a staff user with limited permissions in the admin site. You can use this capability to control access to sensitive data in your application.
For cloud VPS, DigitalOcean will be a grate choose to host django application, Get exclusive DigitalOcean promo codes and coupons for the best savings on cloud VPS.
Now that we’ve discovered and activated the Django admin site, it’s proven to be a useful feature. It provides a convenient way to modify or add users and also to change permissions within the application.
In this tutorial, you learned how to:
- Add a superuser.
- Access the Django admin interface.
- Add app models and access data.
- Set user permissions.
Thanks.